
7 Plywood Tips I Wish I Knew Sooner
If you caught our latest plywood cabinet video, you know how satisfying it is to get clean, precise cuts — but also how tricky it can be to handle full sheets of plywood safely.
Over the years, I’ve picked up a few tricks that make breaking down plywood way easier, whether you’ve got a huge shop or you’re working out of a garage.
Here are seven plywood tips I wish I knew when I started out.
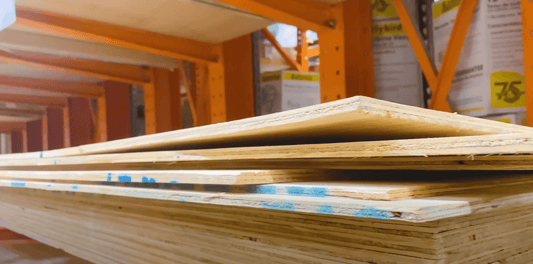
1. Start With Better Plywood
Skip the big box stores. You can almost always find higher-quality plywood for less money at a local plywood or cabinet supplier.
The difference is huge — fewer voids, flatter sheets, cleaner veneer, and cheaper.
I found my “secret spot” just by Googling around. Seriously.
If Google doesn’t help, ask a fellow woodworker if they’ve found a good source. That’s actually how I first learned that a lot of plywood suppliers will sell to hobbyists, not just contractors.
📸 Thanks plywoodcompany.com
2. Support It With Foam
I make all my plywood cuts on top of 1" rigid pink insulation sheets from the hardware store. They’re cheap, lightweight, and last for years.
You can safely cut through your plywood and into them without worrying about your workbench (or the floor).
When they get chewed up, flip them over or replace them.
Health tip: Use a good dust extractor — cutting foam creates fine dust you don’t want to breathe.
This is embarrassing, but I did a short video a long time ago about using them. It’s kinda cringe, so… you’re welcome.
3. Get Off the Floor
I used to lay those foam sheets on the garage floor and cut on my knees.
Then I turned 40, and my knees said “nope.”
A collapsible setup like the Bora Centipede lets you cut full sheets with a track saw without needing a permanent workbench.
I just use a scrap of plywood as the tabletop, lay foam on top, and start cutting. When you’re done, fold it up and stick it in the corner.
4. Use a Track Saw Instead of a Table Saw
If you’re not a bodybuilder (like me 😅), skip trying to feed full sheets through a table saw.
The track saw is your best friend — and safer too.
The blade you use is far more important than the brand of saw.
Even a budget track saw with a high-quality thin-kerf, high-tooth-count blade (like this one from CMT) will give you beautiful cuts.
I’ve personally bought 23 track saws (full price, never sponsored) for our tool business. While I love my Milwaukee M18 and Festool TS60, here’s the honest truth for most weekend woodworkers:
-
Buy a budget saw that fits standard guide rails (Makita/Festool/Milwaukee style)
-
Spend the savings on a good blade
https://www.youtube.com/watch?v=A-LrNUZaY6Y&t=2s
5. Ditch the Factory Edge
Factory edges aren’t trustworthy. Even a small wobble can throw off every cut that follows.
I always rip off about 1/16" from the factory edge to create a perfect reference edge.
Use a combo square set to 1/16", line your track’s splinter guard to it, and rip.
Thirty seconds of work = noticeably better results.
6. Save Time With Parallel Guides
It took me a while to see the value in these, but now I wouldn’t build cabinets without them.
Parallel guides let you lock in exact measurements and make repeat cuts without re-measuring.
Set it once, slide your track, and you’ll get perfectly identical parts every time.
The only ones I truly recommend are from TSO. They’re pricey, but it’s a “buy once, cry once” kind of tool.
Pro Tip: That’s why I suggest getting a budget track saw that fits standard rails — you can spend the savings on accessories like a rail square or parallel guides, then upgrade your saw later without replacing your whole setup.
These TSO Parallel Guide System Sets Will Transform Your Workshop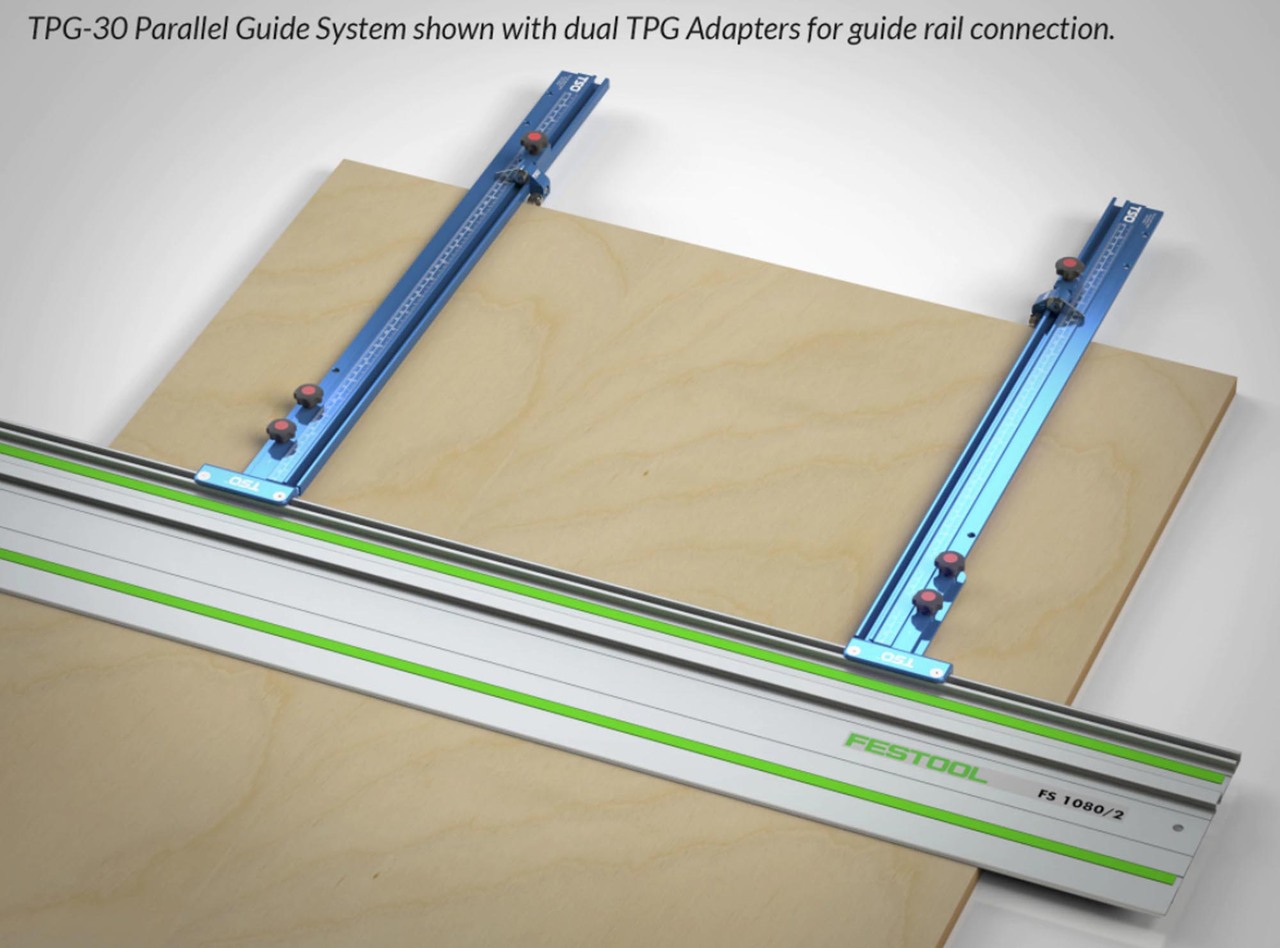
7. Make Your Own Cut Sheet
Before cutting anything, make a plan.
Sketch your parts and figure out how to nest them on each board. It sounds tedious, but it’ll save both time and material — especially when you realize you can tuck smaller pieces into what would’ve been scrap.
I use Opticutter.com— and it’s free.
Wrapping Up
Try a few of these tricks next time you’re cutting plywood.
You’ll be amazed how much smoother (and safer) the whole process feels.
And if you haven’t seen it yet, check out the new digital plans for the full miter station featured in the video — they’re available now!